

by Johnny Ma
On this tutorial, you’ll learn to construct your individual stovetop espresso roaster. It’s going to work similar to the Whirley-Pop popcorn poppers, which will also be used to roast espresso.
Supplies wanted:
- a metal pot with an air gap on the duvet
- French press
- espresso grinder deal with and an aluminum plate.
DIY Espresso Roaster Setup
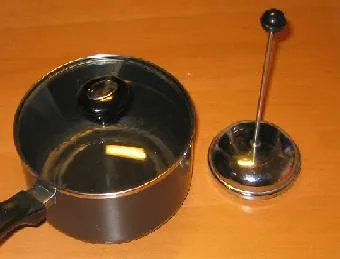
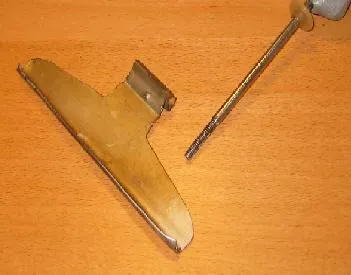
Dismantle the deal with from the boiler cowl and take out the press bar and the adjusting screw components from the French press.
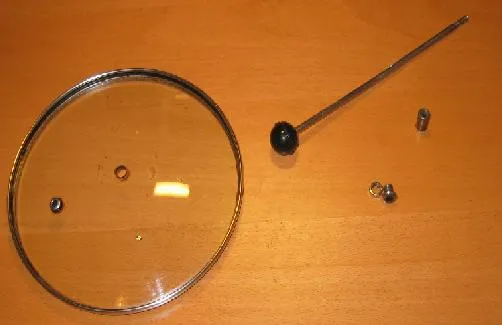
Dismantle Deal with
Place the adjusting screw a part of the French press into the outlet of the duvet of the boiler and repair the place.
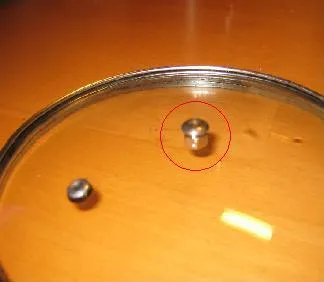
Repair the place.
Now, construct your spin handlebar for the roaster.
- The handlebar was taken from the Espresso Grinder.
- Press bar of the French press.
- Cement clay.
Use these 3 supplies to construct your spin handlebar for the roaster.
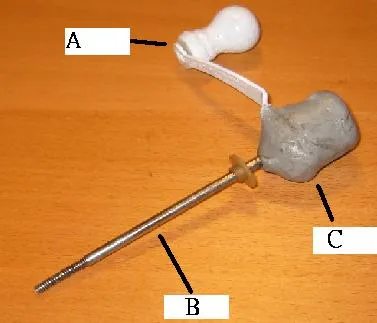
Spin Deal with
Reduce the aluminum plate for the interior wiper contained in the roaster. Make it possible for on each side, you will have a peak of two.5-3cm in order that the espresso beans may be evenly turned over whereas roasting. Additionally, drill a gap on prime of the aluminum plate so that you can connect it to the spin handlebar.
Aluminum Plate
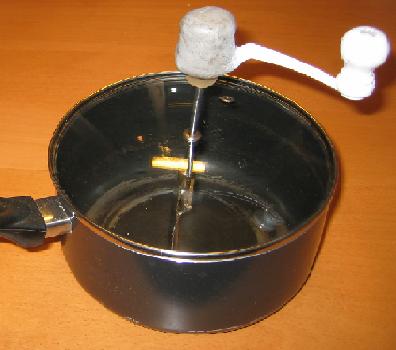
When the entire thing is completed, it ought to appear to be this and check it if you happen to can flip the spin handlebar easily.

Check the Deal with
Now you’re carried out and want to review the way to management the warmth and the way to roast. You want a variety of expertise to get used to your individual home made roaster. Even after you get your espresso roasted, you have to let it relaxation for round 48-72 hours earlier than testing the style. So a variety of time is required. The one factor that you could possibly check simply after roasting is checking if the espresso bean is evenly roasted by taking one espresso bean and breaking it to test that the exterior colour and inside colour are the identical or not.

Completed DIY Espresso Roaster
Revealed on