

 焼きおにぎり • Simply One Cookbook")
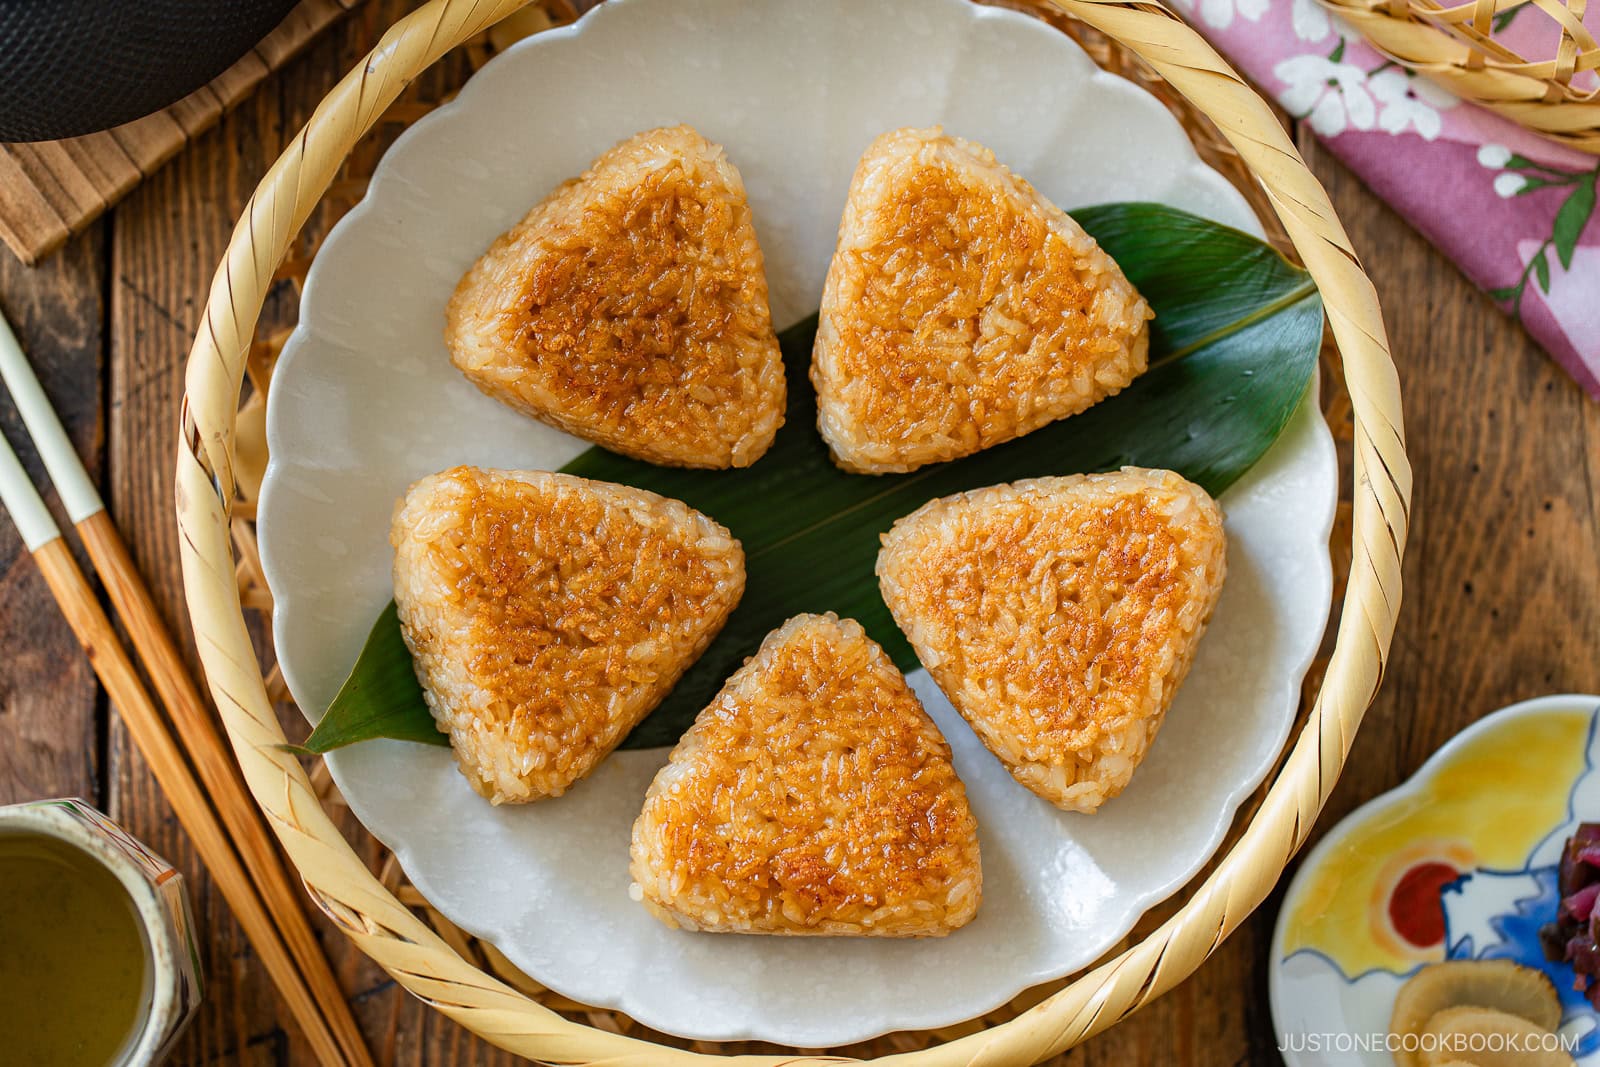
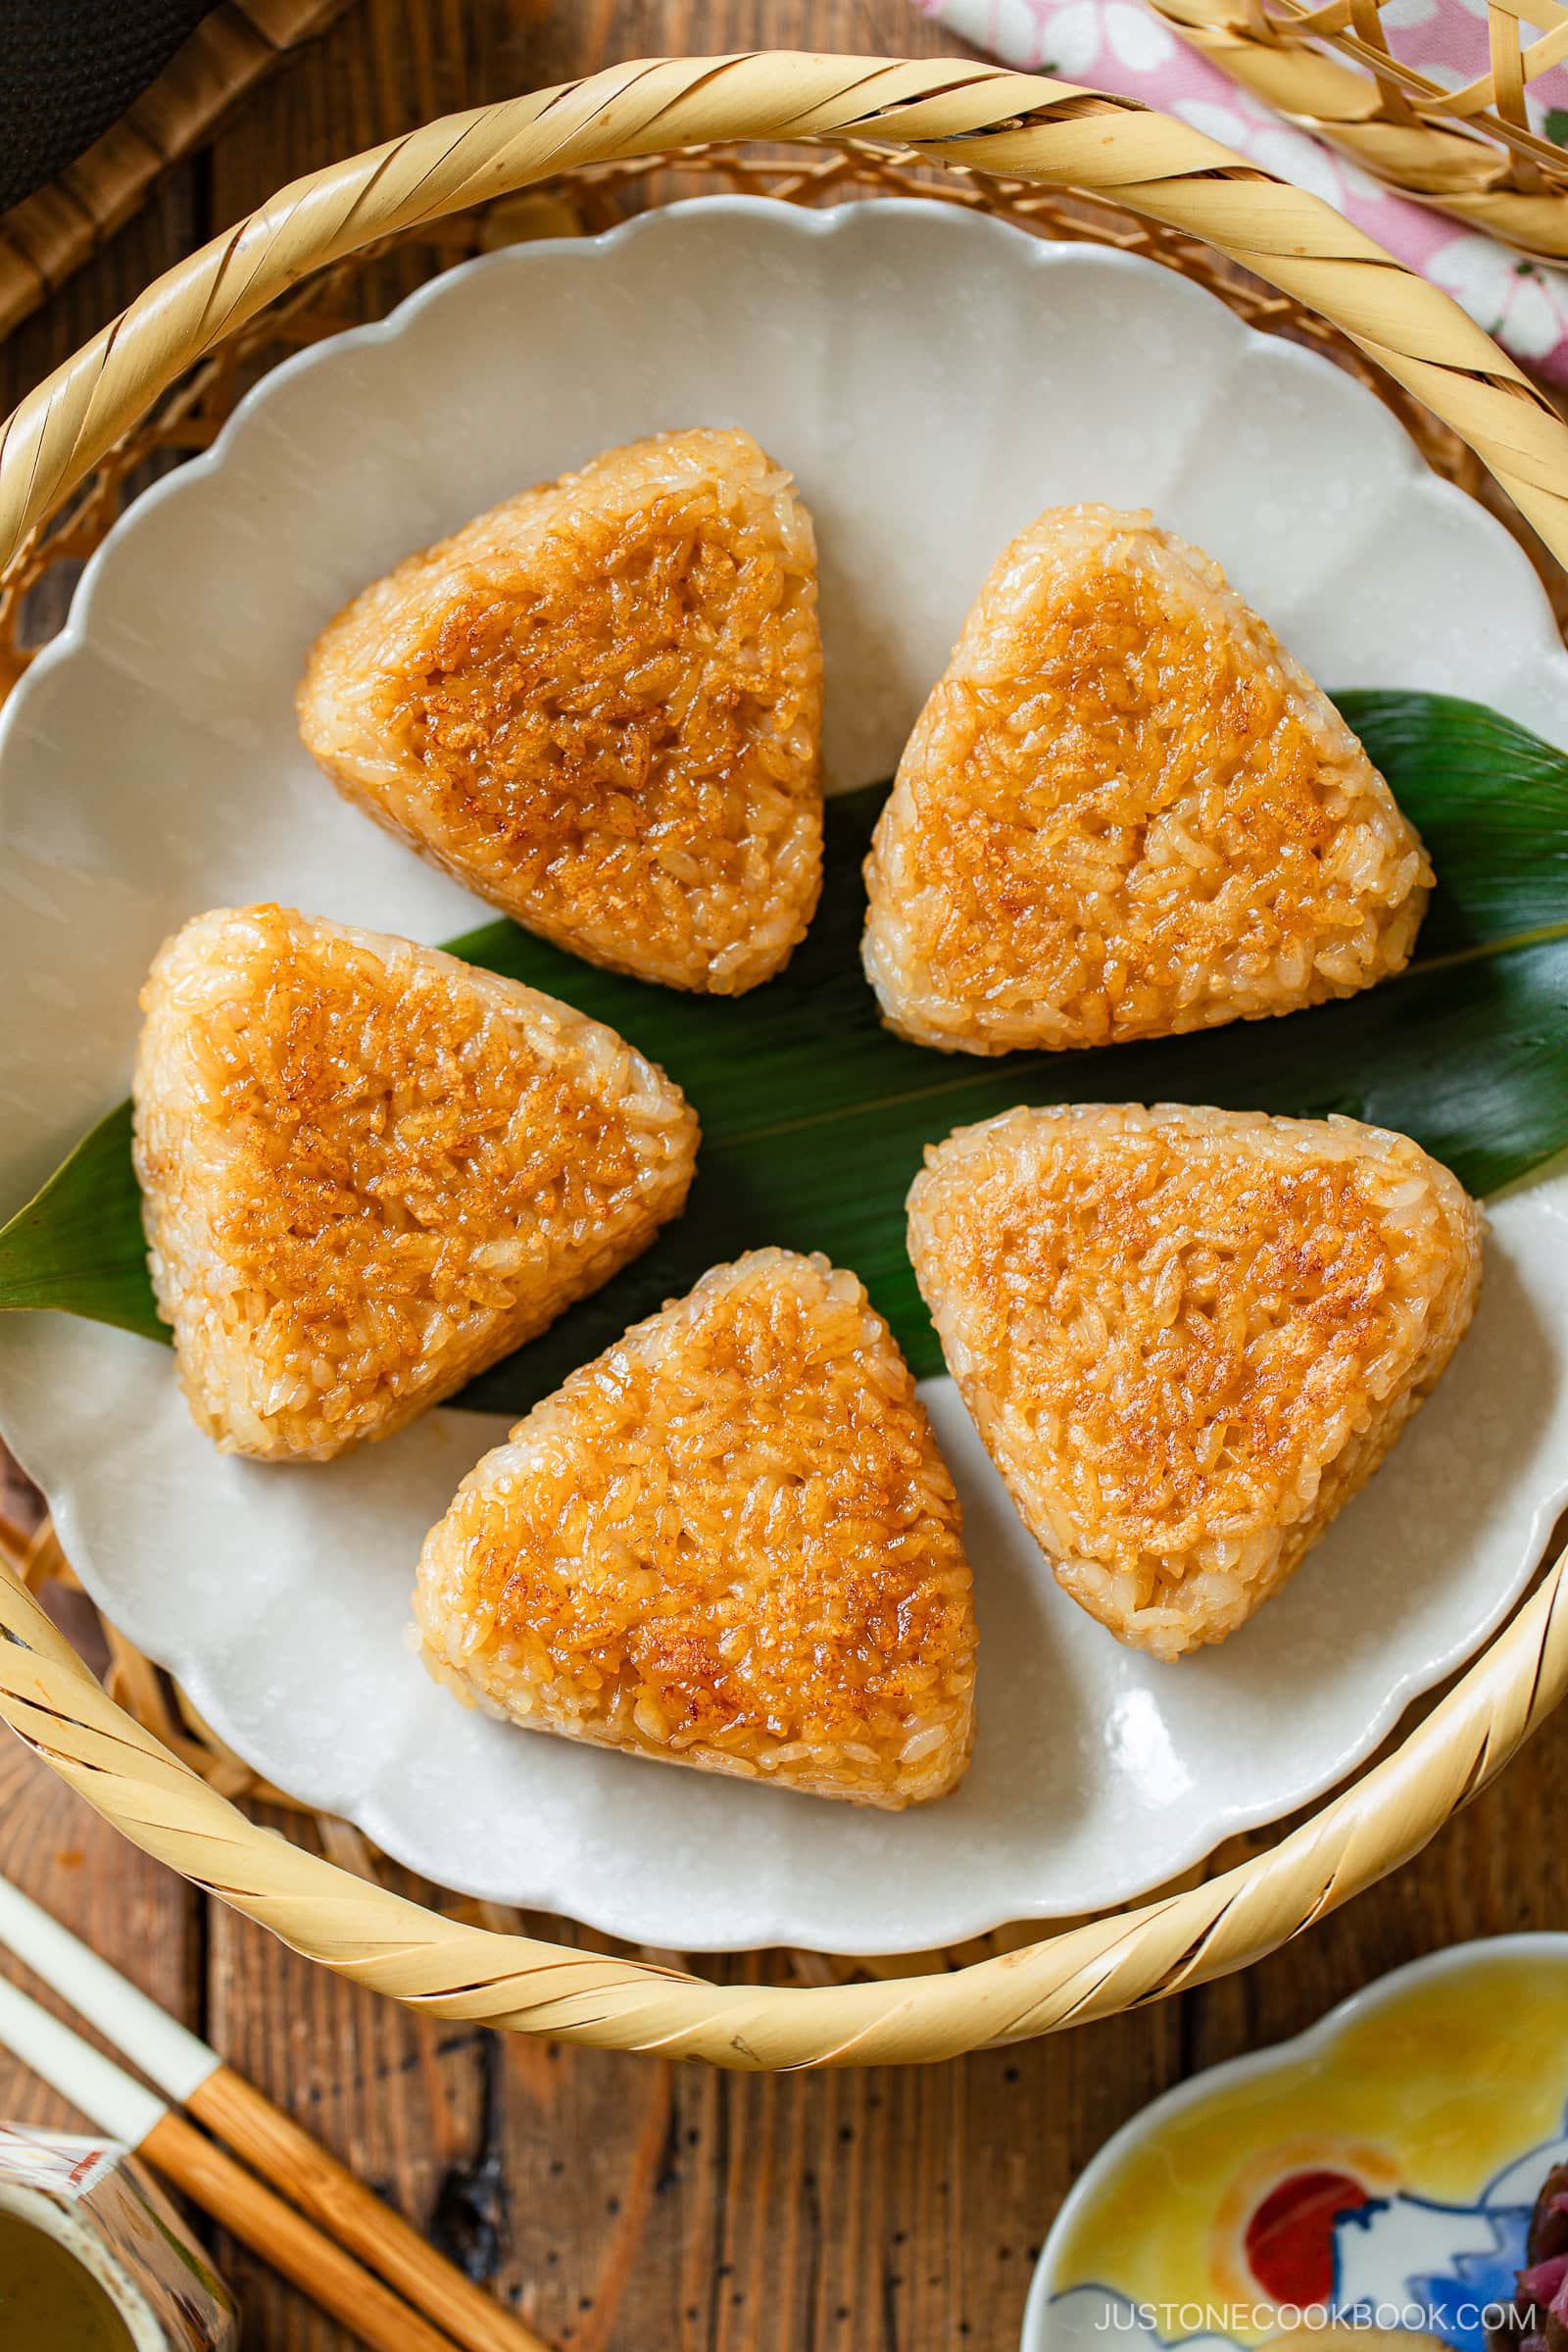
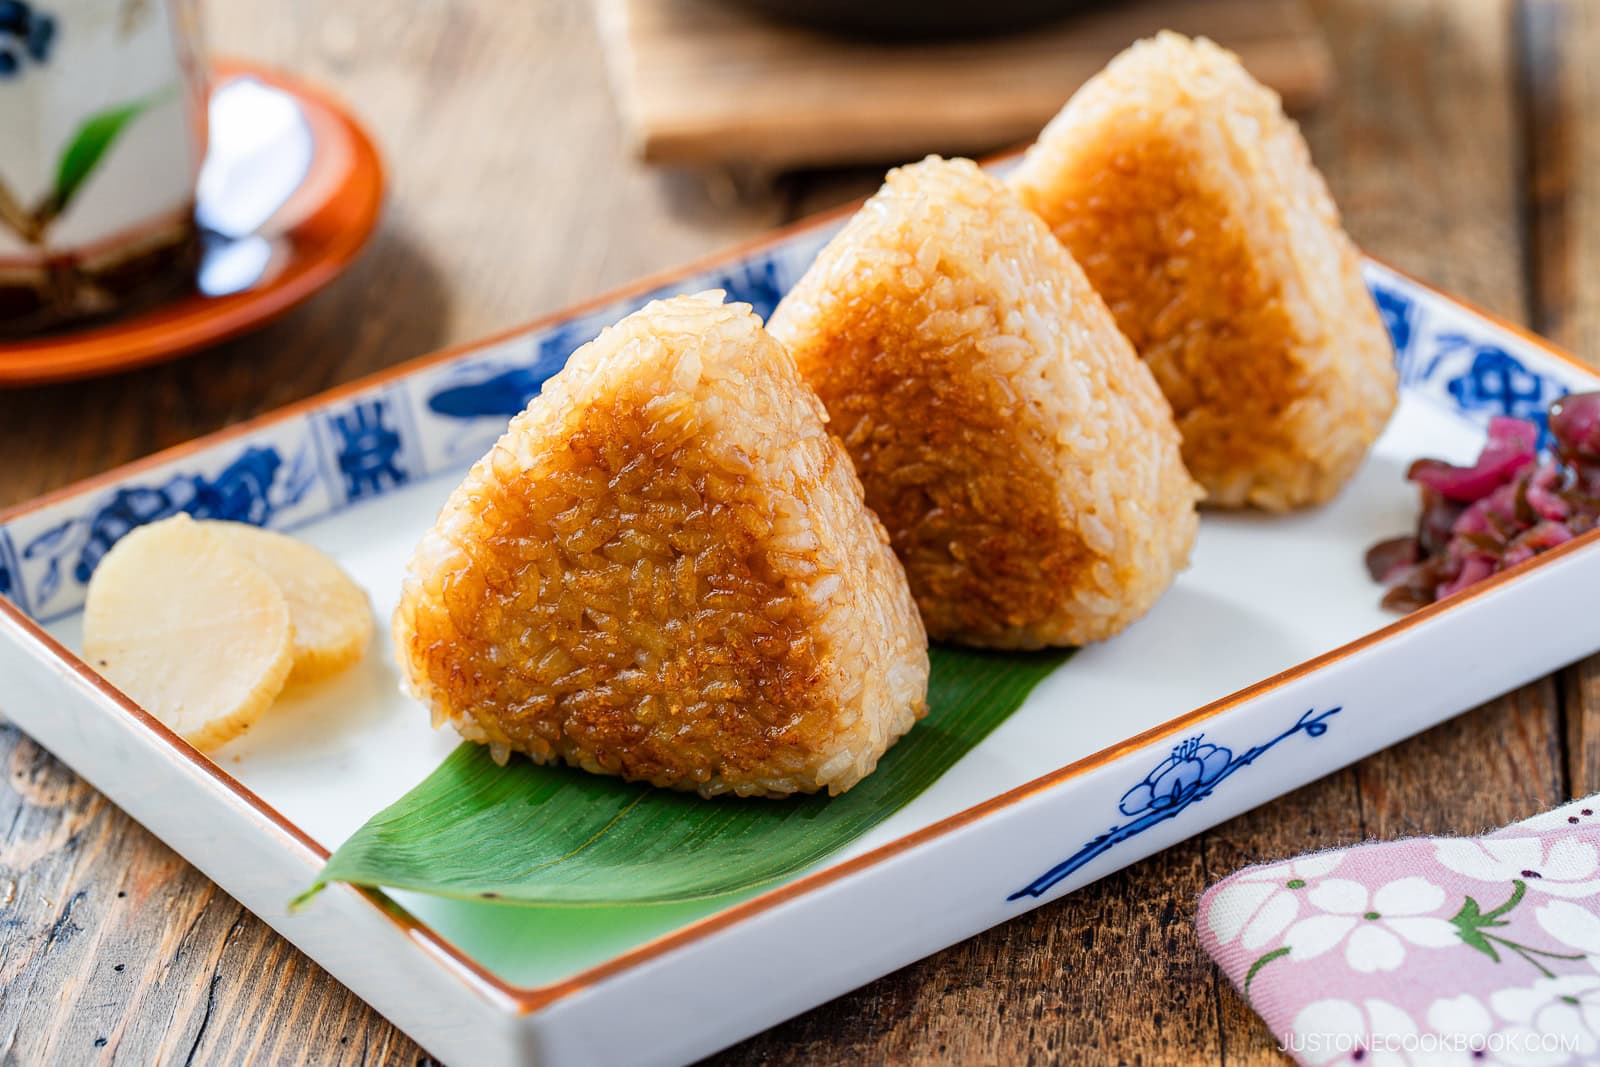
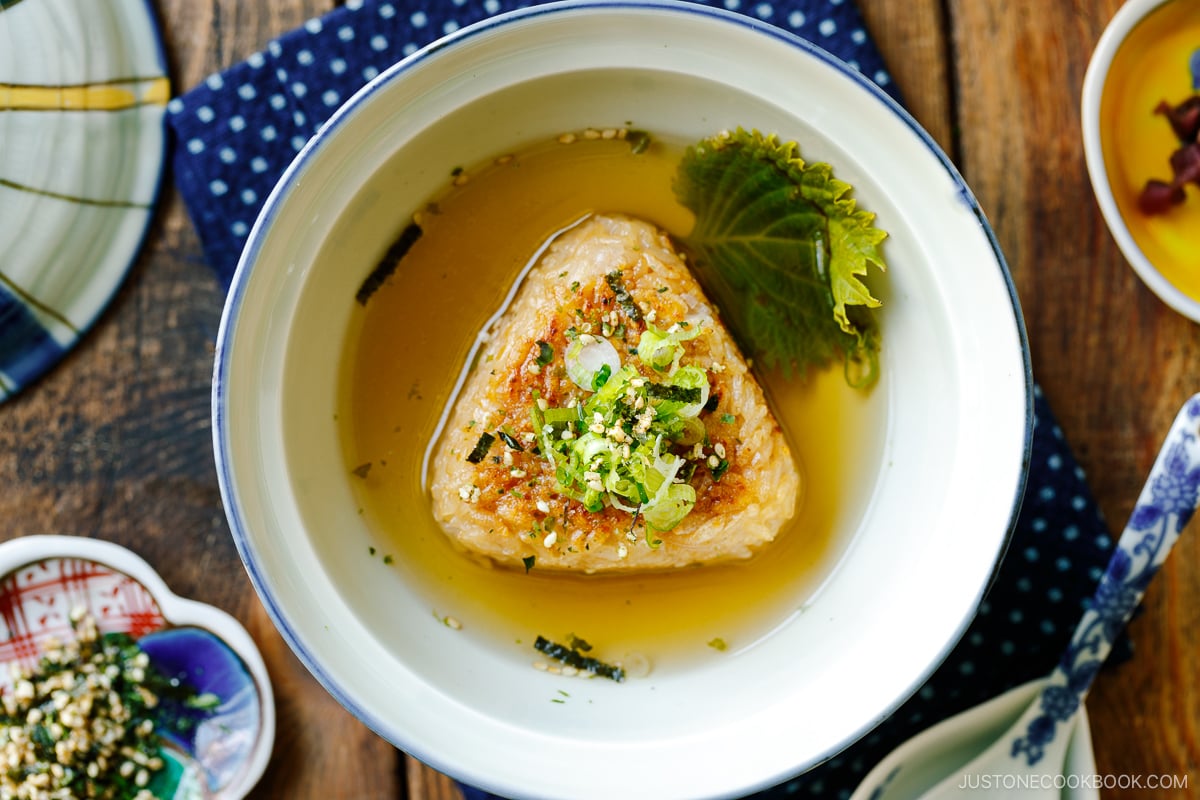
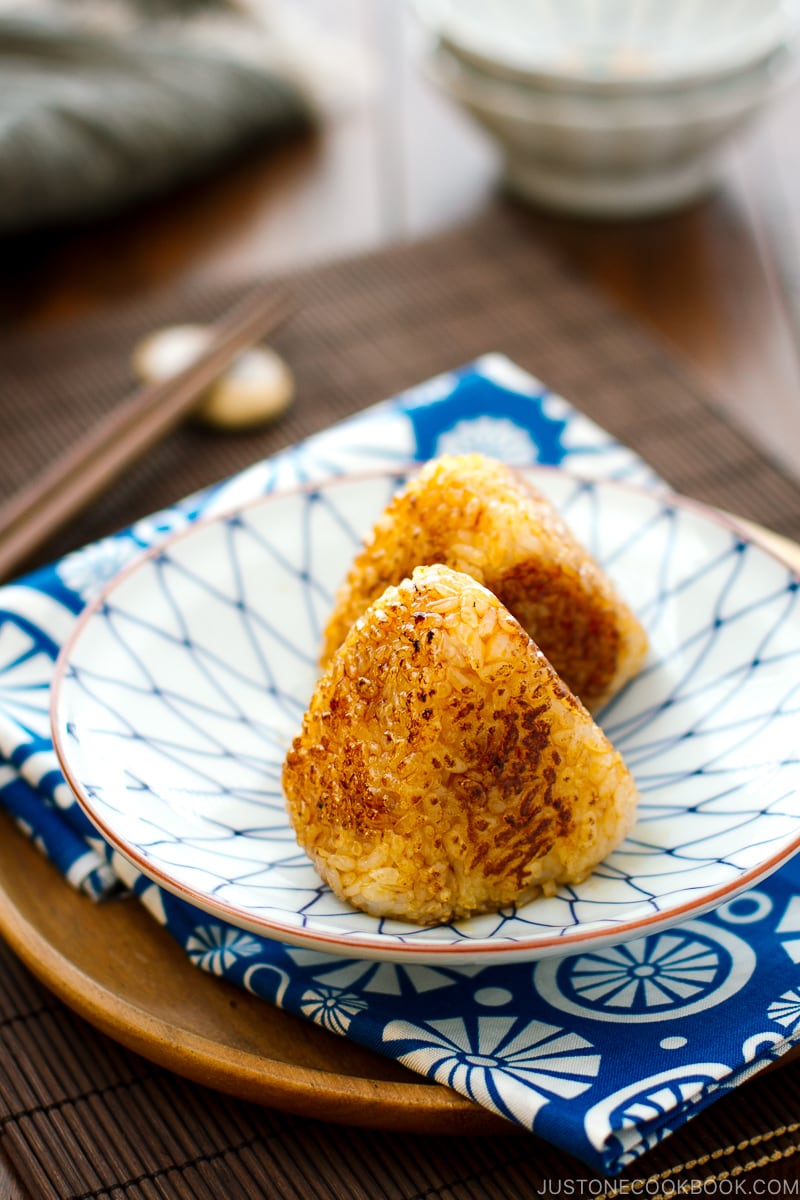
Golden, crispy, and brushed with a savory-sweet glaze, Yaki Onigiri (Grilled Rice Ball) turns humble white rice into an irresistible snack you’ll need on repeat.
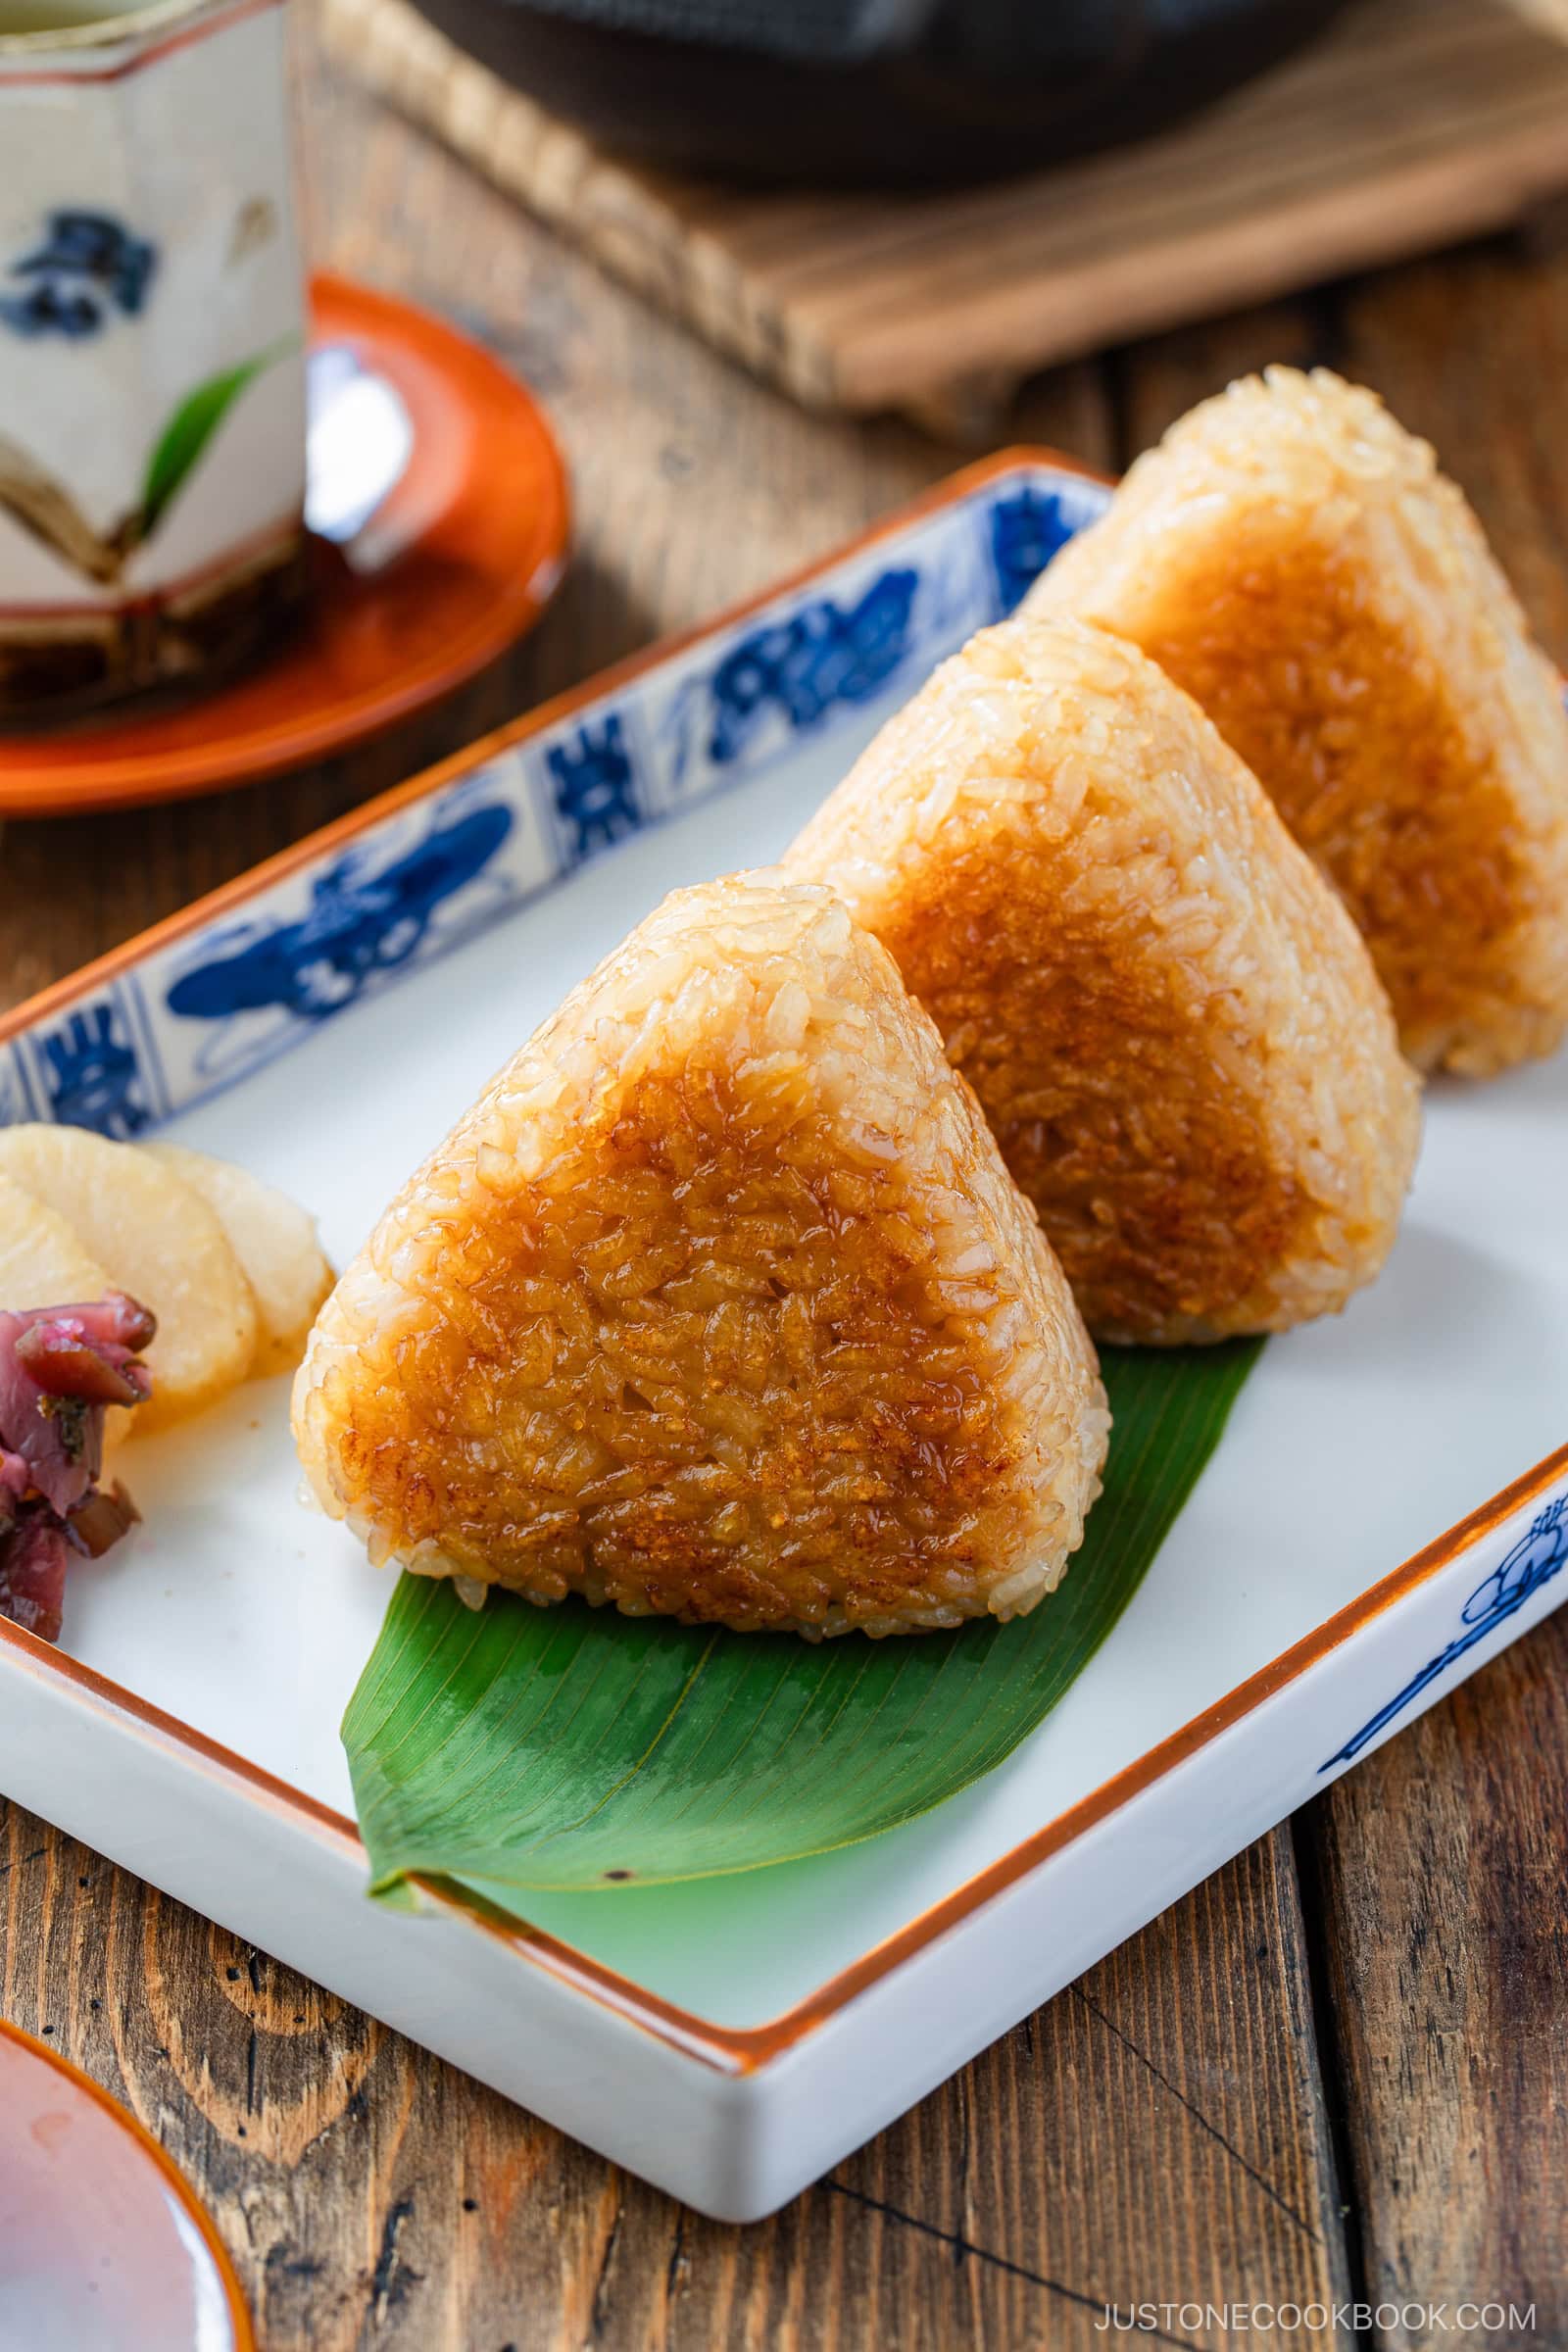
Yaki Onigiri are the Japanese grilled rice balls I attain for every time a easy bowl of rice received’t do. Pan-grilled till crackly, then lacquered with soy sauce and toasted sesame oil, every chew gives a crispy crust and a young, steamy middle. As we speak I’ll present you the simple stovetop technique so you possibly can take pleasure in these comfort-food classics at dwelling anytime.
For those who’re craving extra Japanese rice ball recipes, attempt my Tuna Mayo Onigiri, Miso Yaki Onigiri, and basic Onigiri subsequent!
What’s Yaki Onigiri?
Yaki means “grilled,” whereas onigiri are Japanese rice balls. Historically cooked over charcoal, Yaki Onigiri (焼きおにぎり) choose up a golden brown, smoky crust, then obtain a brush of soy or miso glaze that caramelizes the flavors on the floor. At dwelling, we mimic the impact in a frying pan for a similar crispy exterior and gentle inside.
Why I Love This Recipe
- Crispy outdoors, tender inside
- Savory, caramelized glaze
- Straightforward to make in a frying pan
Substances for Yaki Onigiri
Discover the printable recipe with measurements beneath.
Substitutions
- Japanese short-grain rice: It’s usually bought as “sushi rice” outdoors of Japan. Please don’t substitute it with different varieties like jasmine, basmati, or different long-grain rice because the onigiri will disintegrate.
- Soy sauce: Use tamari soy sauce for gluten-free.
How one can Make Yaki Onigiri
Preparation
- Prepare dinner the rice and season. Rinse and soak for 20–half-hour, then prepare dinner in a rice cooker, pot, On the spot Pot, or donabe. Whereas scorching, stir in soy sauce, sesame oil, sugar, and salt. Slice gently to maintain the grains intact.


- Form. Moisten palms, use an onigiri mildew, or use plastic wrap and kind scorching rice right into a triangular form.


Cooking
- Pan-grill. Place the rice balls on parchment-lined frying pan over medium-low warmth. Grill, turning gently, till all sides are crispy and evenly browned.


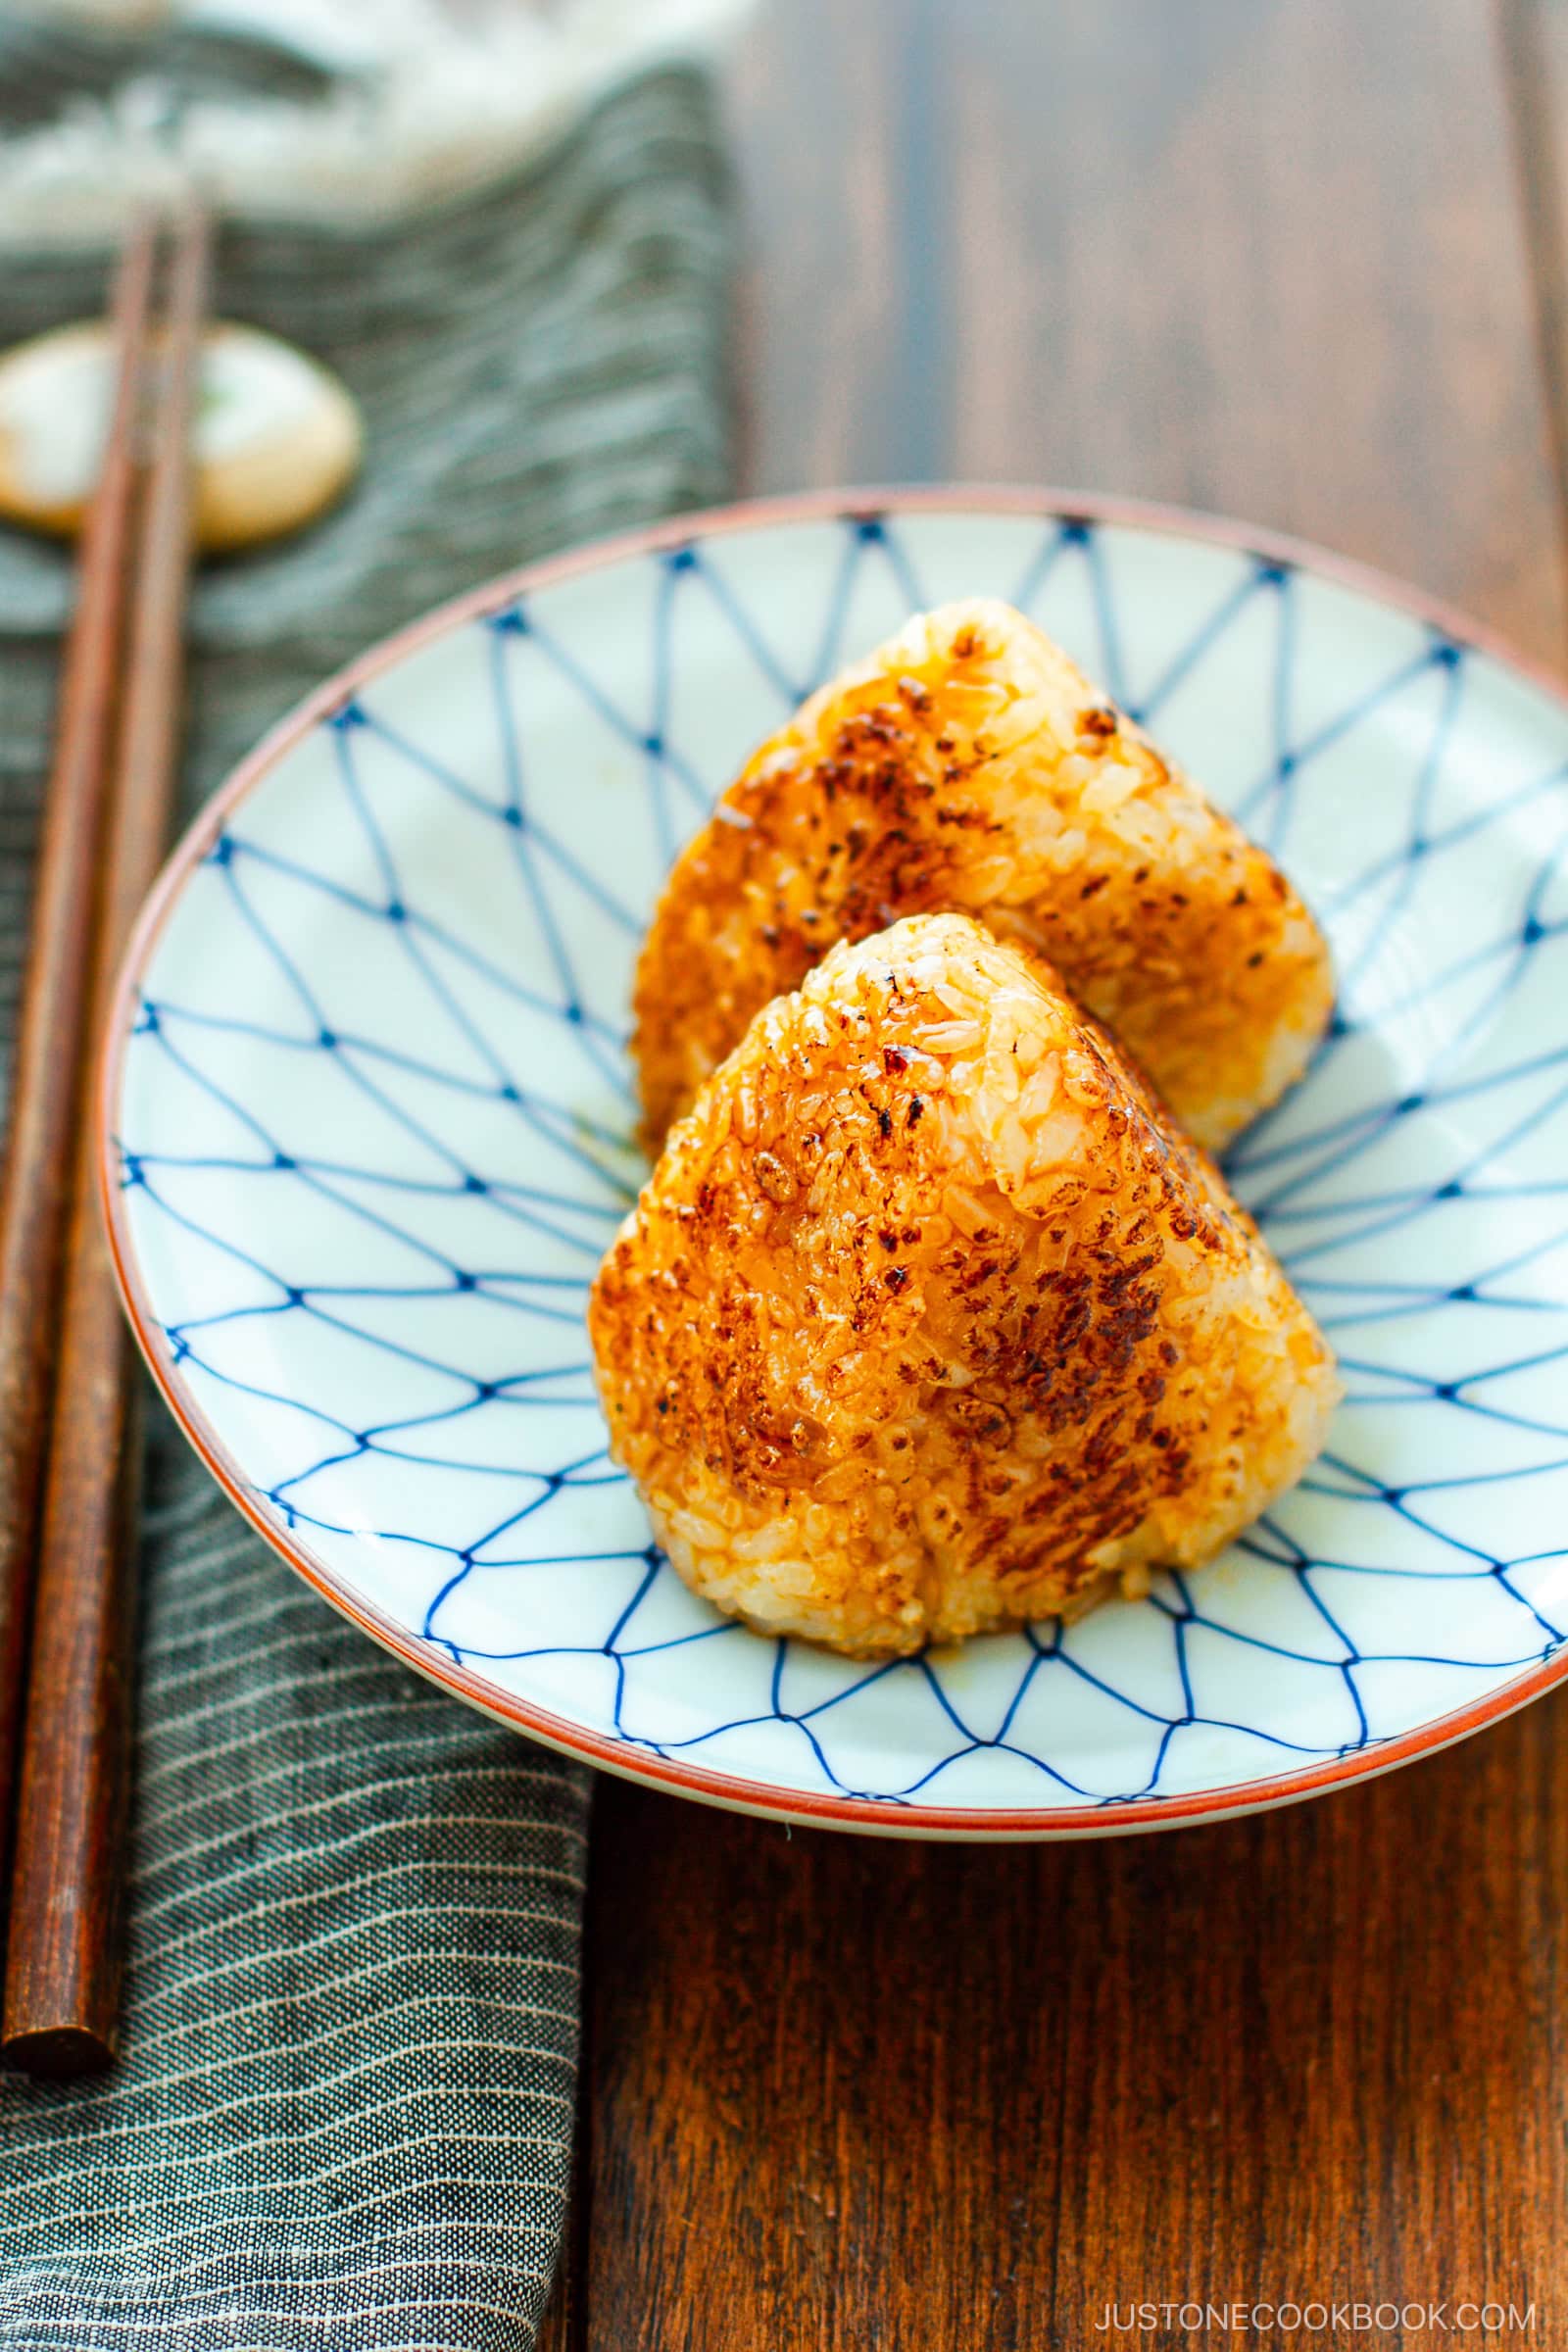
- Glaze and caramelize. Decrease the warmth; brush soy-sesame glaze on the highest and sides. Flip as soon as the primary aspect caramelizes, then brush the remaining aspect. Proceed over low warmth till each glazed sides flip shiny and golden.


- Serve. Take pleasure in instantly or cool for bento.
Nami’s Recipe Suggestions
- Cool the rice simply sufficient to deal with; it should keep heat so the grains adhere.
- All the time moisten palms or molds to forestall sticking.
- Use parchment paper to maintain the glaze from burning and the rice from sticking to the fry pan.
- Keep away from overhandling the rice ball and flip them solely after a crust varieties to forestall breakage.
- Use low warmth when glazing; excessive warmth scorches the soy and sugar.
Variations and Customizations
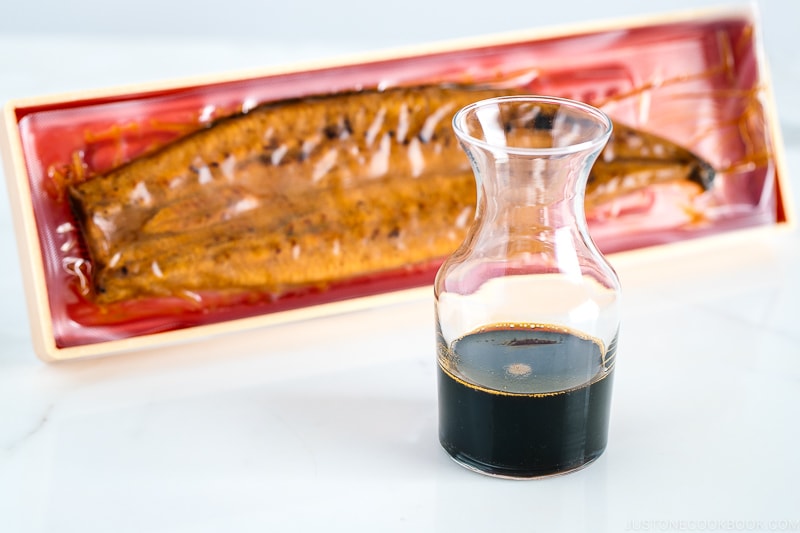
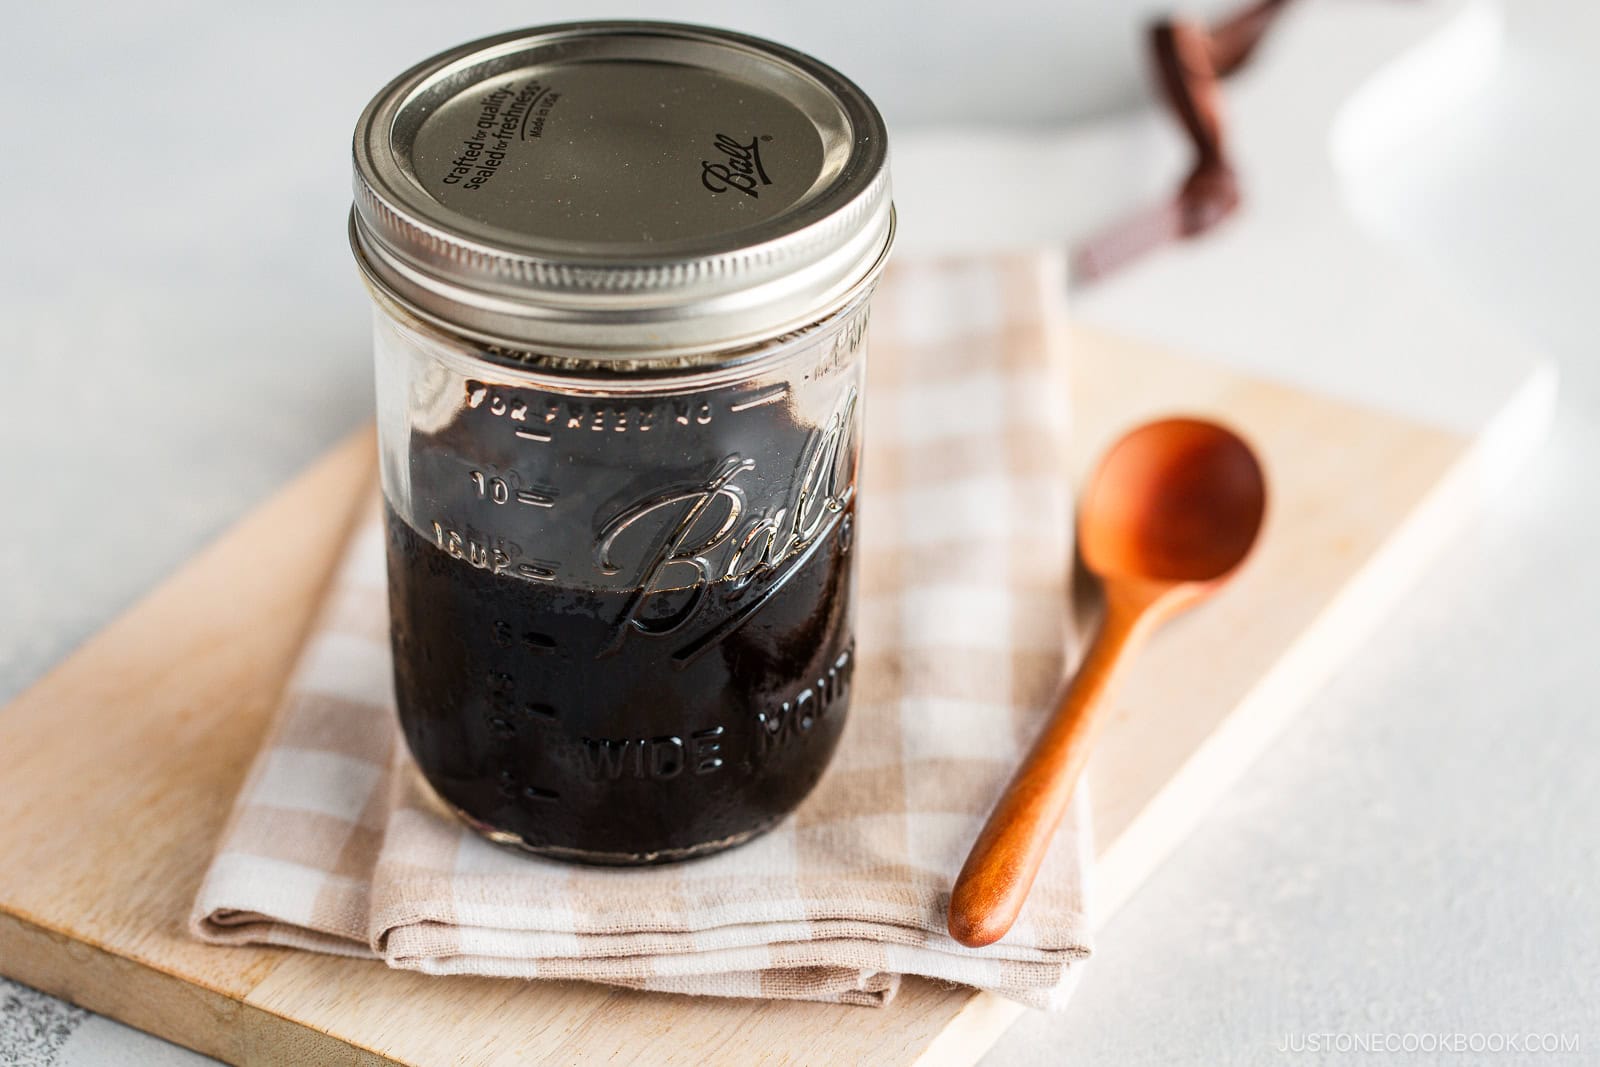
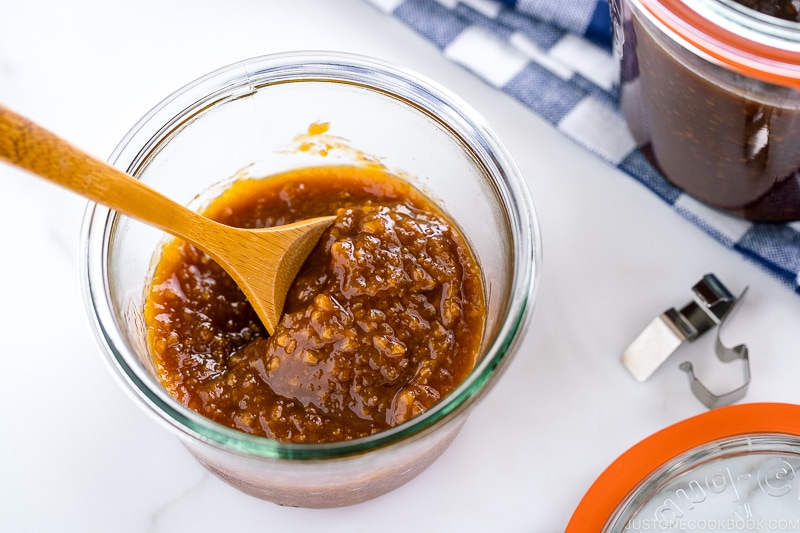
- Add a sauce – Brush with Do-it-yourself Eel Sauce (Unagi Sauce), Teriyaki Sauce, or Do-it-yourself All Goal Miso Sauce proper earlier than serving.
- Wrap it with nori – Add a crisp piece of dried laver seaweed for texture and additional umami. Plus, it makes a handy onigiri holder.
- Use plain rice – Skip the seasoning and make this yaki onigiri recipe with unseasoned rice for a basic style.
- Fill it – Tuck in salted salmon, umeboshi, okaka, kombu, tuna mayo, or mentaiko.
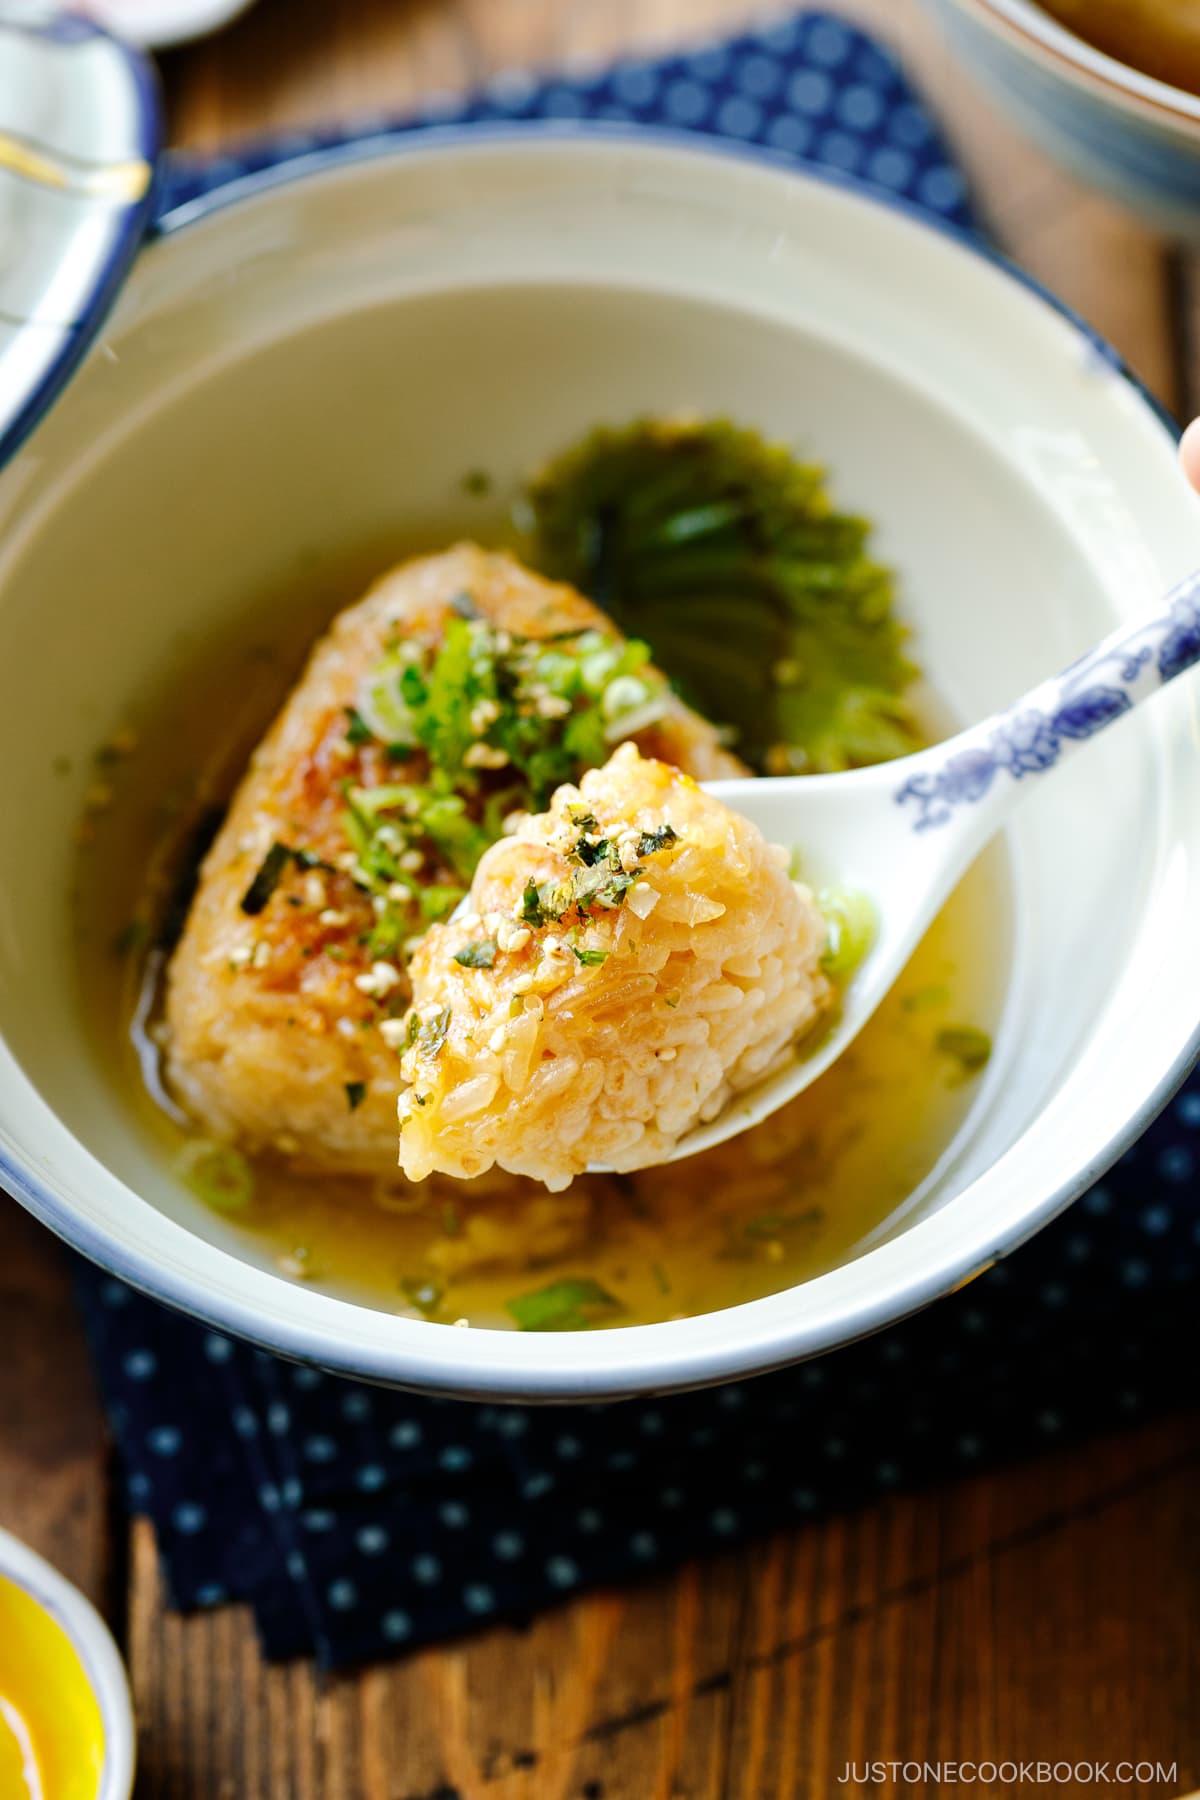
- Chazuke – Freeze extras, then pour scorching tea or dashi over a grilled rice ball for fast Yaki Onigiri Chazuke.
What to Serve with Yaki Onigiri
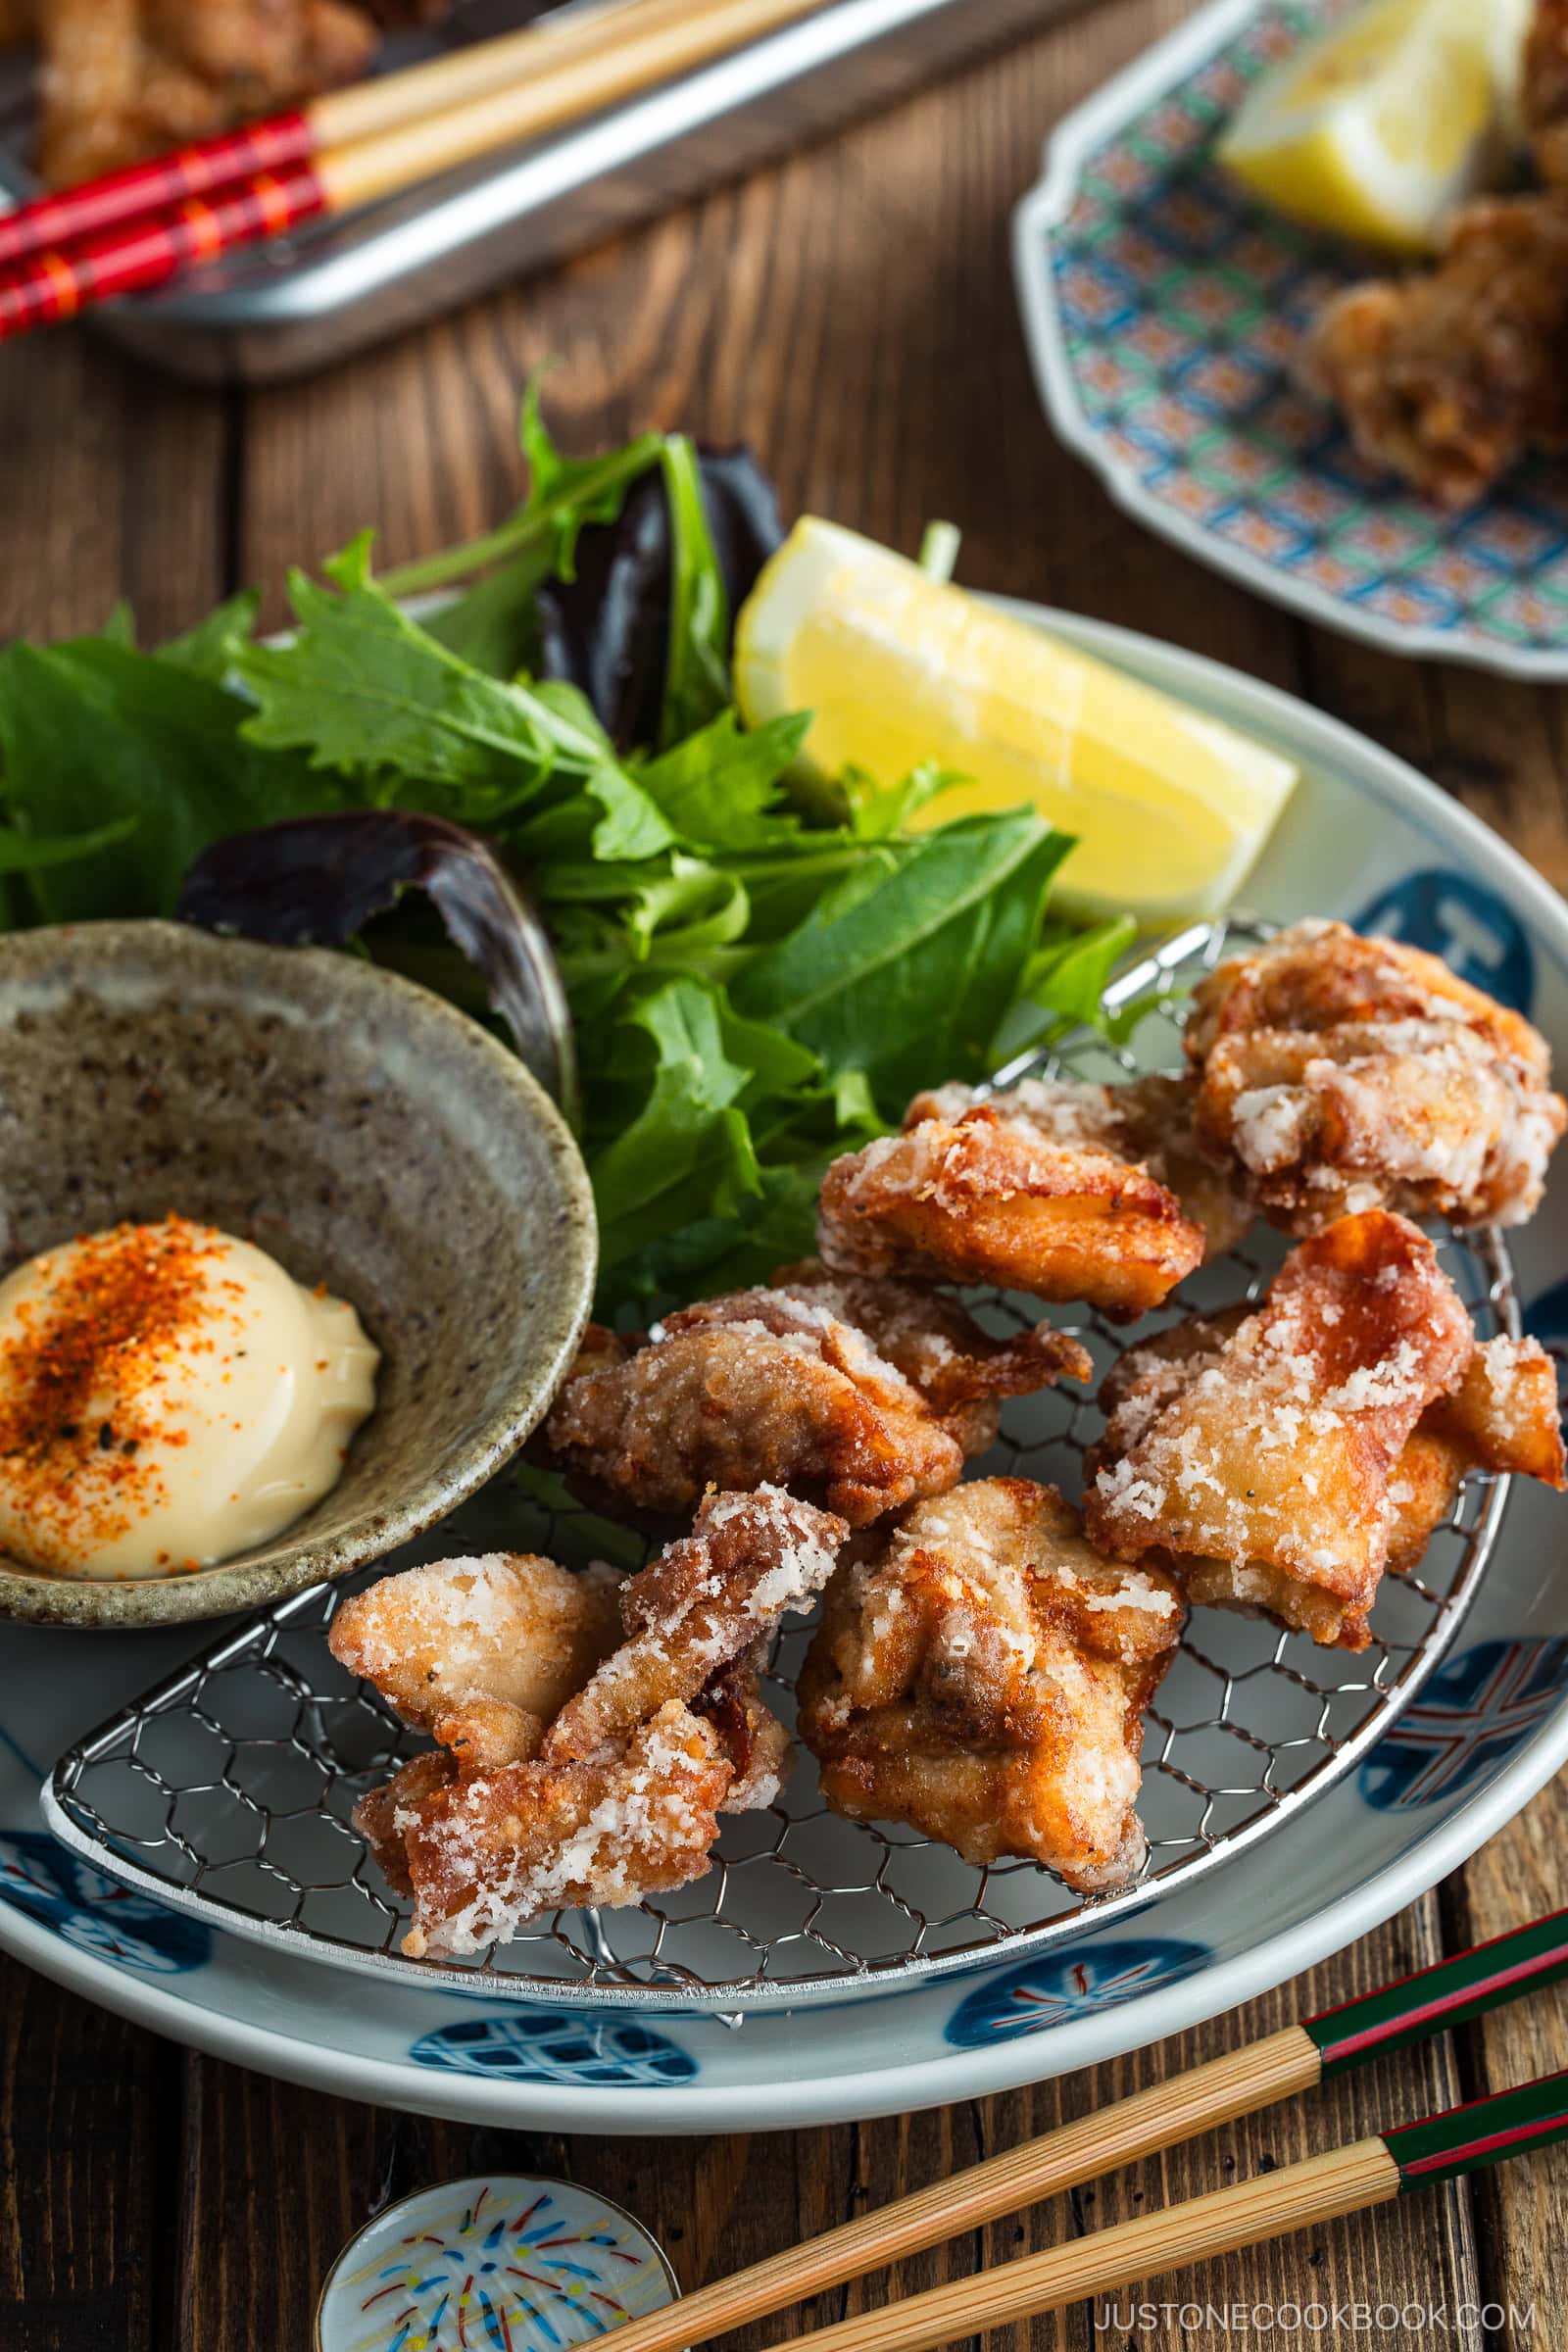
- With hen – Pair with juicy Karaage (Japanese Fried Rooster) for protein.
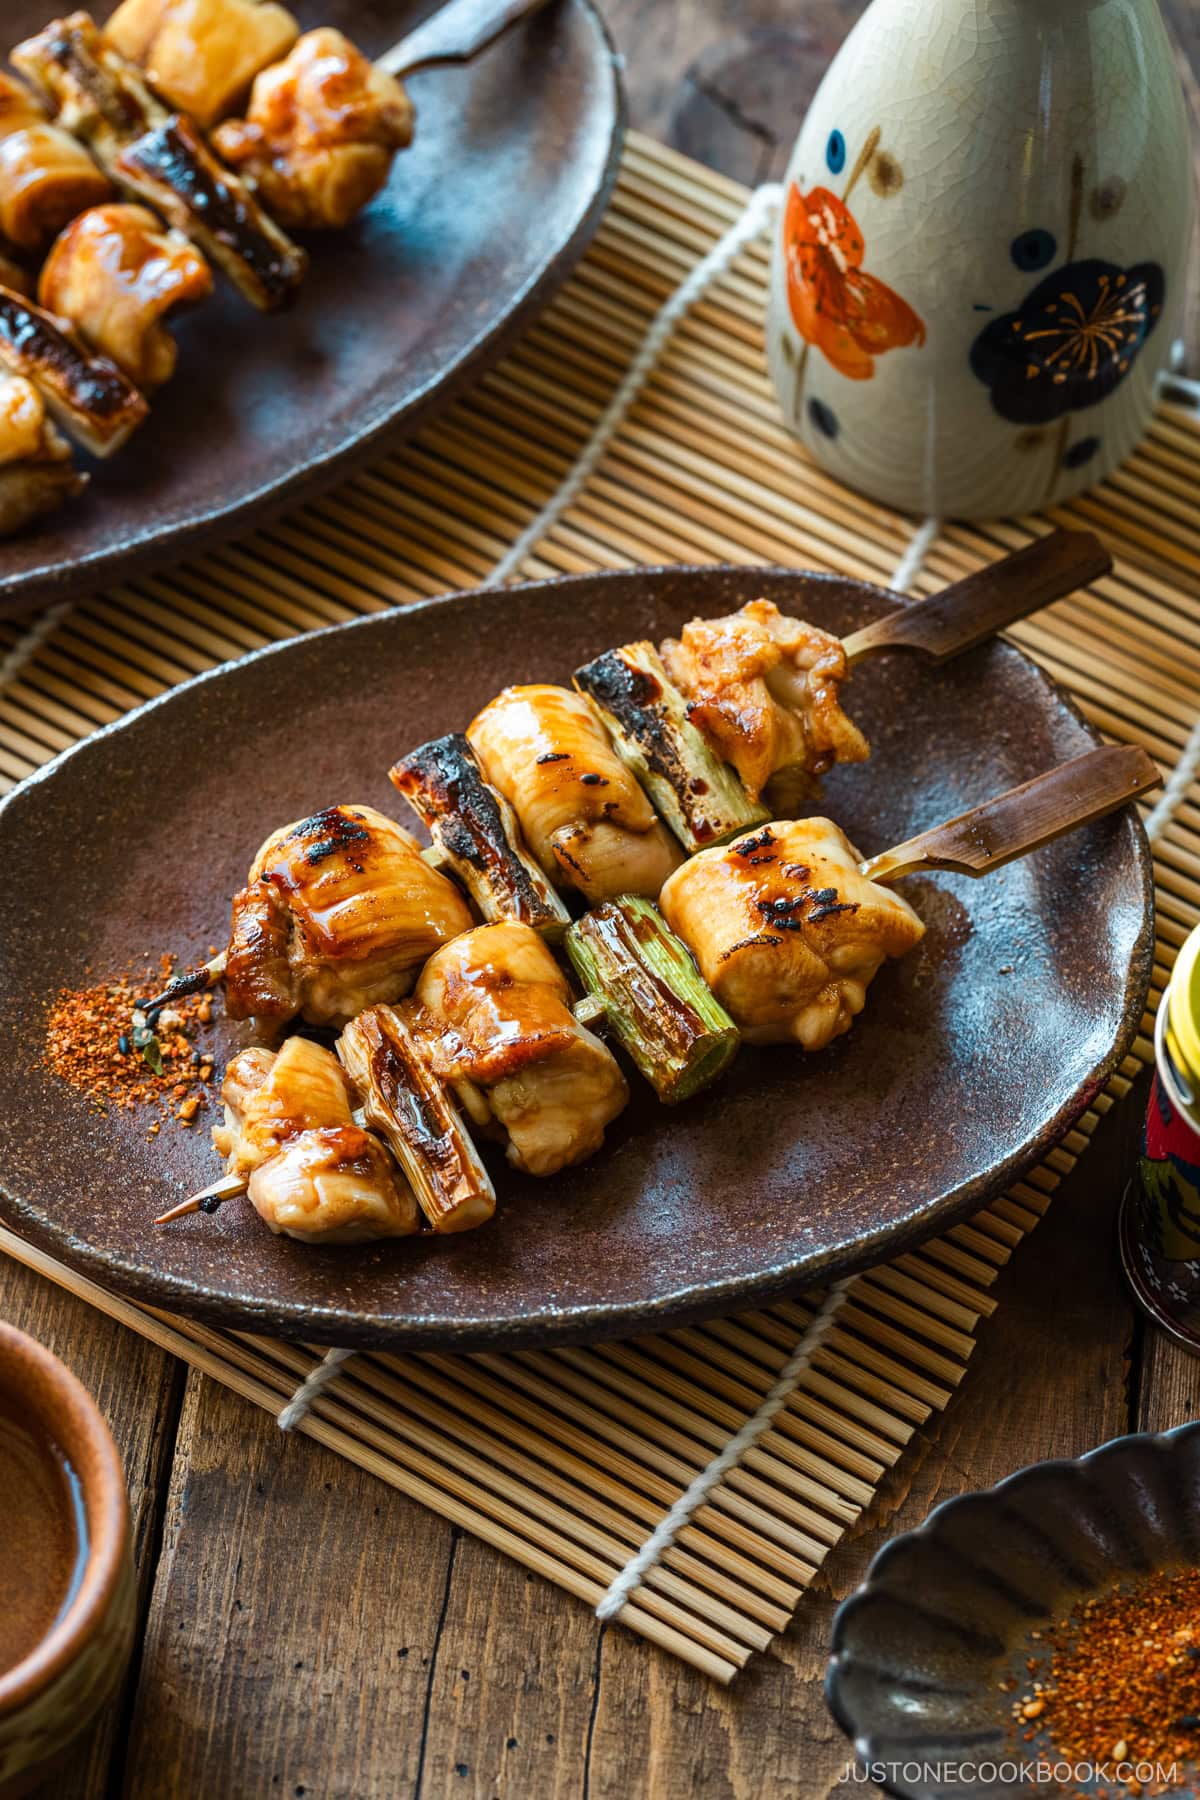
- With veggies – Strive Yakitori-Type Grilled Greens for colour, crunch, and fiber.
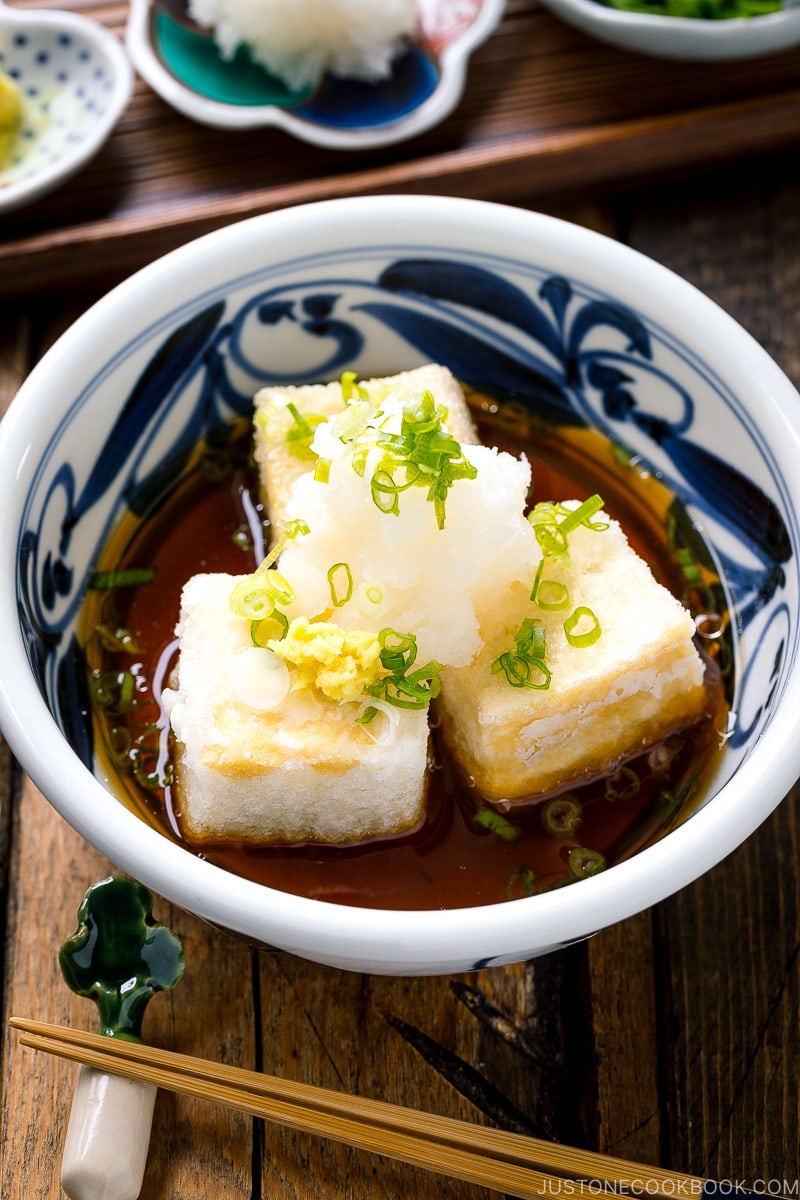
- With tofu – Crispy Agedashi Tofu enhances the rice ball’s glaze.
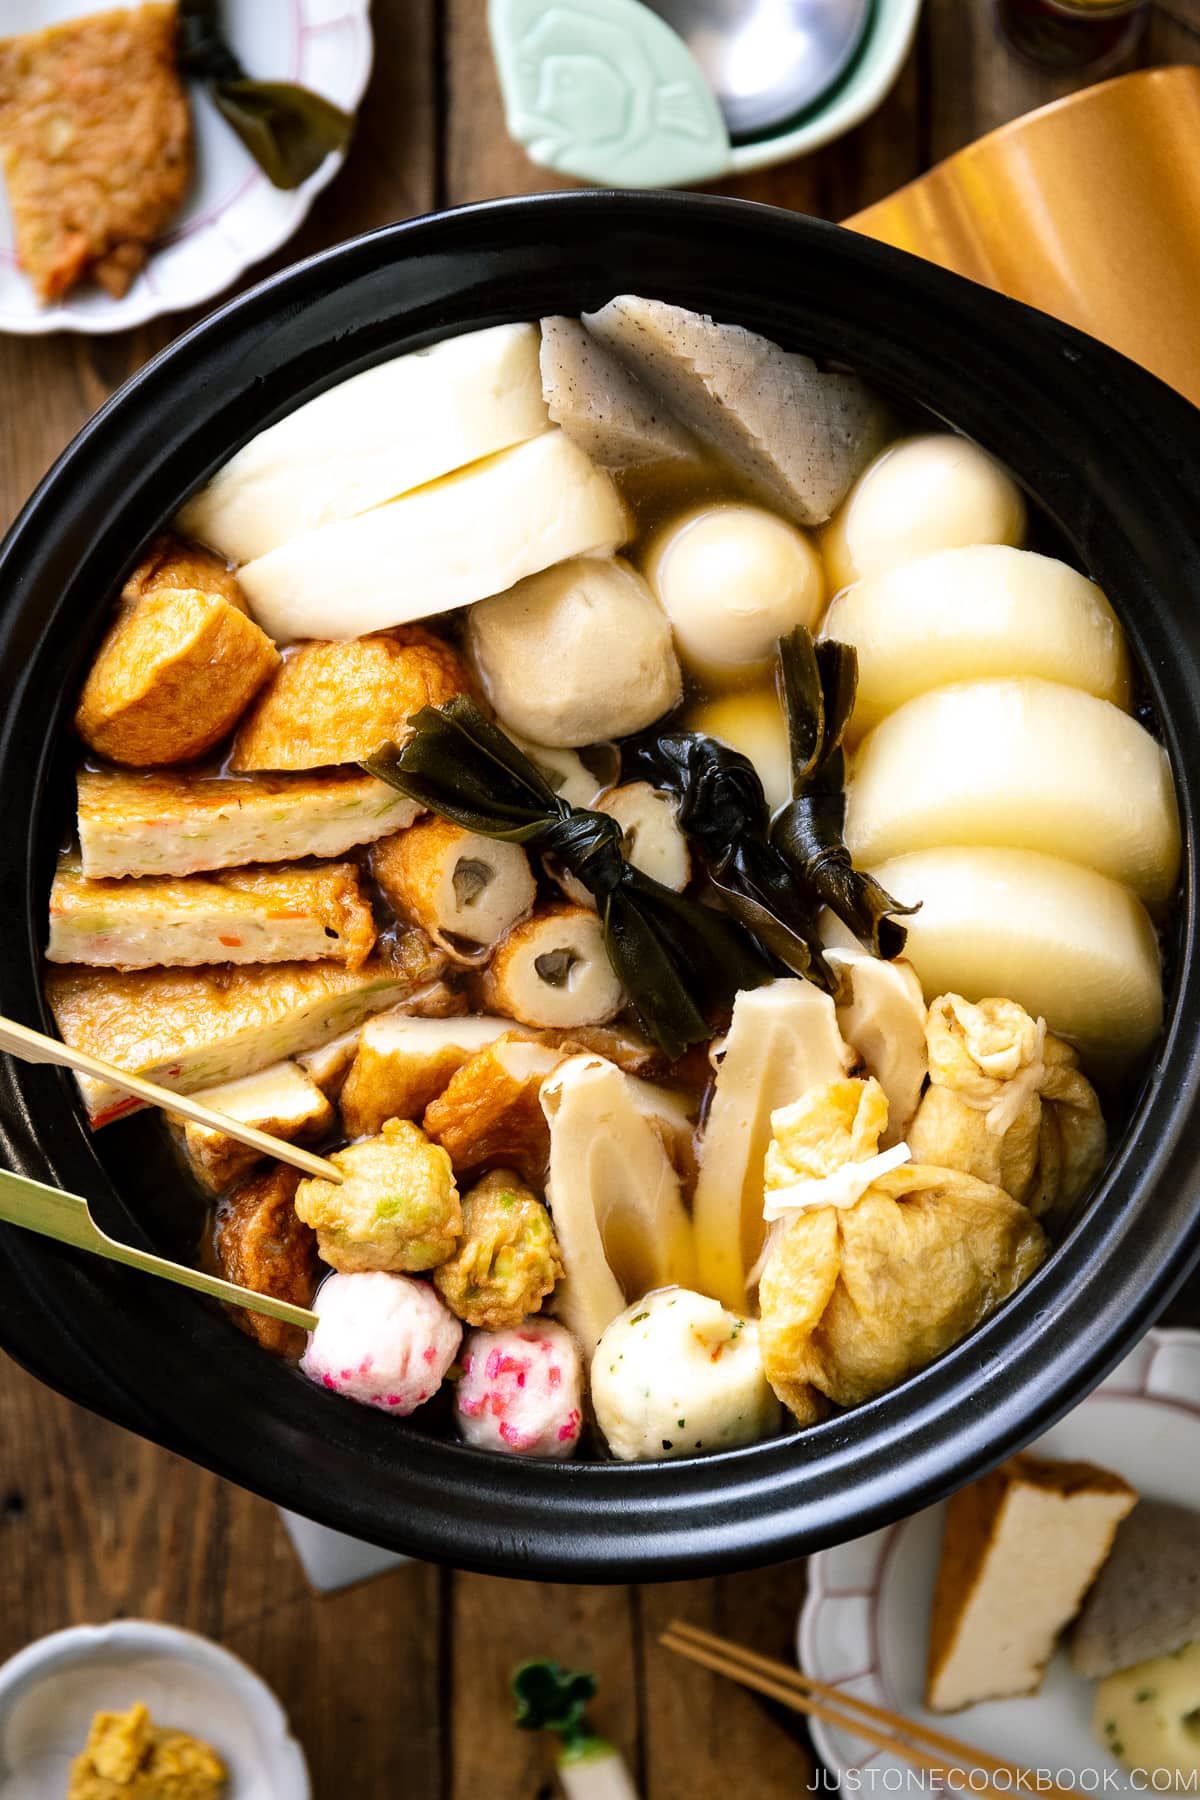
- With stew – Heat, comforting Oden rounds out a winter desk.
Storage and Reheating Suggestions
To retailer: Wrap every cooled onigiri tightly in plastic and freeze as much as 1 month. For brief storage, refrigerate as much as 2 days wrapped and coated with a thick kitchen towel to buffer the chilly.
To reheat: Carry to room temperature, then heat in a microwave or re-grill gently in a pan.
Continuously Requested Questions
Sure, you possibly can. Butter burns simply, although, so take care to not let it burn.
I don’t advocate it. It’s not conventional, and additional moisture can preserve the rice balls from holding form.
Sure! Cool them to room temperature earlier than closing the lid on the hermetic container to forestall condensation.
Stop your display from going darkish
Earlier than You Begin…
-
Japanese short-grain white rice requires a soaking time of 20–half-hour. The rice-to-water ratio is 1 to 1.1 (or 1.2) for short-grain white rice. Please observe that 2¼ cups (450 g, 3 rice cooker cups) of raw Japanese short-grain rice yield 6⅔ cups (990 g) of cooked white rice. That is sufficient for 9 onigiri rice balls (usually 110 g every). Non-compulsory: To make 5–6 rice balls, prepare dinner 1½ cups (300 g, 2 rice cooker cups) of raw Japanese short-grain rice in 1⅔ cups water (400 ml) to yield 4⅓ cups (660 g) of cooked white rice.
-
Prepare dinner the rice; see how with a rice cooker, pot over the range, On the spot Pot, or donabe. To my rice cooker, I added 2½ cups water to 2¼ cups raw Japanese short-grain white rice. As soon as the rice is cooked, collect all of the components.
To Season the Cooked Rice
-
Mix 3 Tbsp soy sauce and 1 Tbsp sugar in a small bowl and microwave till the combination is scorching, about 30–60 seconds. Whisk all of it collectively till the sugar dissolves.
-
Add 1 Tbsp toasted sesame oil and ¼ tsp Diamond Crystal kosher salt and blend all of it collectively.
-
Switch the recent cooked rice to a big bowl and add the seasoning combination.
-
With a rice paddle, use a slicing movement to softly mix the seasoning and cooked rice effectively. Strive to not mash the rice. Nami’s Tip: Make sure you let the cooked rice cool a little bit bit till you possibly can maintain it with out burning your palms. Rice should be scorching or heat when making onigiri to be able to maintain its form.
To Form the Onigiri With a Mould
-
Put together a small bowl full of water. Dip the onigiri mildew and lid within the water to moisten so the rice doesn‘t persist with it. Take away the mildew and drain the surplus water.
-
Fill the onigiri mildew with the recent seasoned rice all the best way to the highest edge, ensuring to fill the corners. Cowl with the lid and push down firmly. It’s best to really feel a slight resistance; if not, add a bit extra rice.
-
Take away the lid. Flip over the mildew onto a baking sheet or plate lined with parchment paper. Then, push the “button” on the mildew‘s backside to launch your onigiri. Nami’s Tip: All the time dip your fingers in water earlier than touching onigiri to forestall the rice from sticking to them.
-
Repeat with the remaining rice.
-
Now, firmly hand press the rice balls to maintain them from falling aside whereas grilling. Press them a bit extra tightly than you’ll a daily onigiri. First, moisten each palms with a little bit of water to forestall the rice from sticking. Then, choose up a rice ball in your non-dominant hand. Make a “mountain” form along with your dominant hand. Place it on high of the rice and gently press the triangle nook when you squeeze the fingers and heel of your backside hand to softly press the edges flat.Now, rotate towards you the triangle nook you simply pressed. A brand new nook will now level up. Repeat the above “press and rotate” steps handy press the second triangle nook after which the third one, all the time holding your non-dominant hand on the underside and your dominant hand on high. Press and rotate a closing 2–3 extra instances to complete.
-
Within the picture beneath, the highest row is hand pressed whereas the underside row isn’t.
-
Non-compulsory: You’ll be able to press the onigiri with plastic wrap as an alternative when you don‘t need to contact the rice along with your palms: Lay a bit of plastic wrap on the work floor, moist your fingers, and place the onigiri within the center.
-
Collect the corners of the plastic wrap and twist it just a few instances to tighten it across the rice. Kind the rice right into a triangle form in the identical method that I described above.
To Form the Onigiri with Plastic Wrap (elective)
-
As a substitute of utilizing an onigiri mildew, you should use plastic wrap to form the rice ball. Place a bit of plastic movie on the working floor, moist your fingers, and put the rice on high. Collect the corners of the plastic movie and twist it just a few instances to tighten it across the rice.
-
Kind the rice right into a triangle form by means of the plastic in the identical method that I described above for hand-pressing the onigiri. Repeat with the remaining rice. Nami’s Tip: To form the onigiri along with your palms the normal means, see the step-by-step directions and pictures in my Onigiri (Japanese Rice Balls) put up.
To Pan-Grill
-
Mix 1 Tbsp soy sauce and 1 tsp toasted sesame oil for the glaze. Place a sheet of parchment paper on a big frying pan.
-
Gently place the rice balls on the parchment paper and grill on medium-low warmth till all sides are crispy and evenly browned. As soon as browned on the underside, flip them over (I exploit two silicone spatulas). Don’t flip them till browned; work on one aspect at a time and keep away from dealing with them an excessive amount of, which can trigger the onigiri to interrupt into items.
-
Rotate the onigiri to grill all sides and ensure they turn into crispy.
To Glaze
-
As soon as they’re toasted and evenly brown, flip the warmth to low (or flip off the warmth). Brush the onigiri sides with the soy sauce glaze and switch over to grill on the sauce aspect. Then, brush on the opposite aspect.
-
Watch out to not burn the onigiri after you sweep it with the glaze. Optionally, you possibly can brush them with my selfmade unagi sauce and teriyaki sauce. Your Yaki Onigiri are actually able to take pleasure in.
To Retailer
-
Individually seal every yaki onigiri in plastic wrap and freeze for as much as a month. Rice will get exhausting and dry within the fridge, so I like to recommend freezing over refrigerating. For those who should retailer it within the fridge, cowl the individually wrapped yaki onigiri with a thick kitchen towel and refrigerate for as much as 2 days. The towel will preserve the meals cool however stop it from getting too chilly. While you‘re able to eat, deliver it again to room temperature and reheat in a microwave or frying pan.
Energy: 207 kcal · Carbohydrates: 42 g · Protein: 4 g · Fats: 2 g · Saturated Fats: 0.3 g · Polyunsaturated Fats: 1 g · Monounsaturated Fats: 1 g · Sodium: 420 mg · Potassium: 38 mg · Fiber: 1 g · Sugar: 1 g · Calcium: 3 mg · Iron: 2 mg
Editor’s Notice: This put up was initially revealed on June 25, 2012. It was up to date with a brand new video and pictures on March 23, 2024, and republished with extra useful content material on June 23, 2025.